During the summer of 2020, I went on about two dozen socially-distant scouting rides in California and Nevada to check out portions of the Pony Express Bikepacking route. And it seemed like I came back every time realizing I needed to add to or change my basic bike and gear set up. So I thought I’d start a log here to note the changes. Not for any particular reason—I doubt this will help anyone else—but it seems important somehow to track these changes.
BTW, I have links to the items I mention here, but I do not have any connection with any of these companies (other than Bicycle Engineering, because the owner and sole employee, Rick Jorgensen, is a close friend). But I don’t get any money or other support from any of these companies, though I did use some of their product photos, as those were a lot more convenient than taking my own. I don’t mean any of my comments to be an endorsement per se. I’m just laying out what seems to work for me and offering links because, personally, I hate it when someone talks about something nice and then makes me go look for it.
Bike Setup
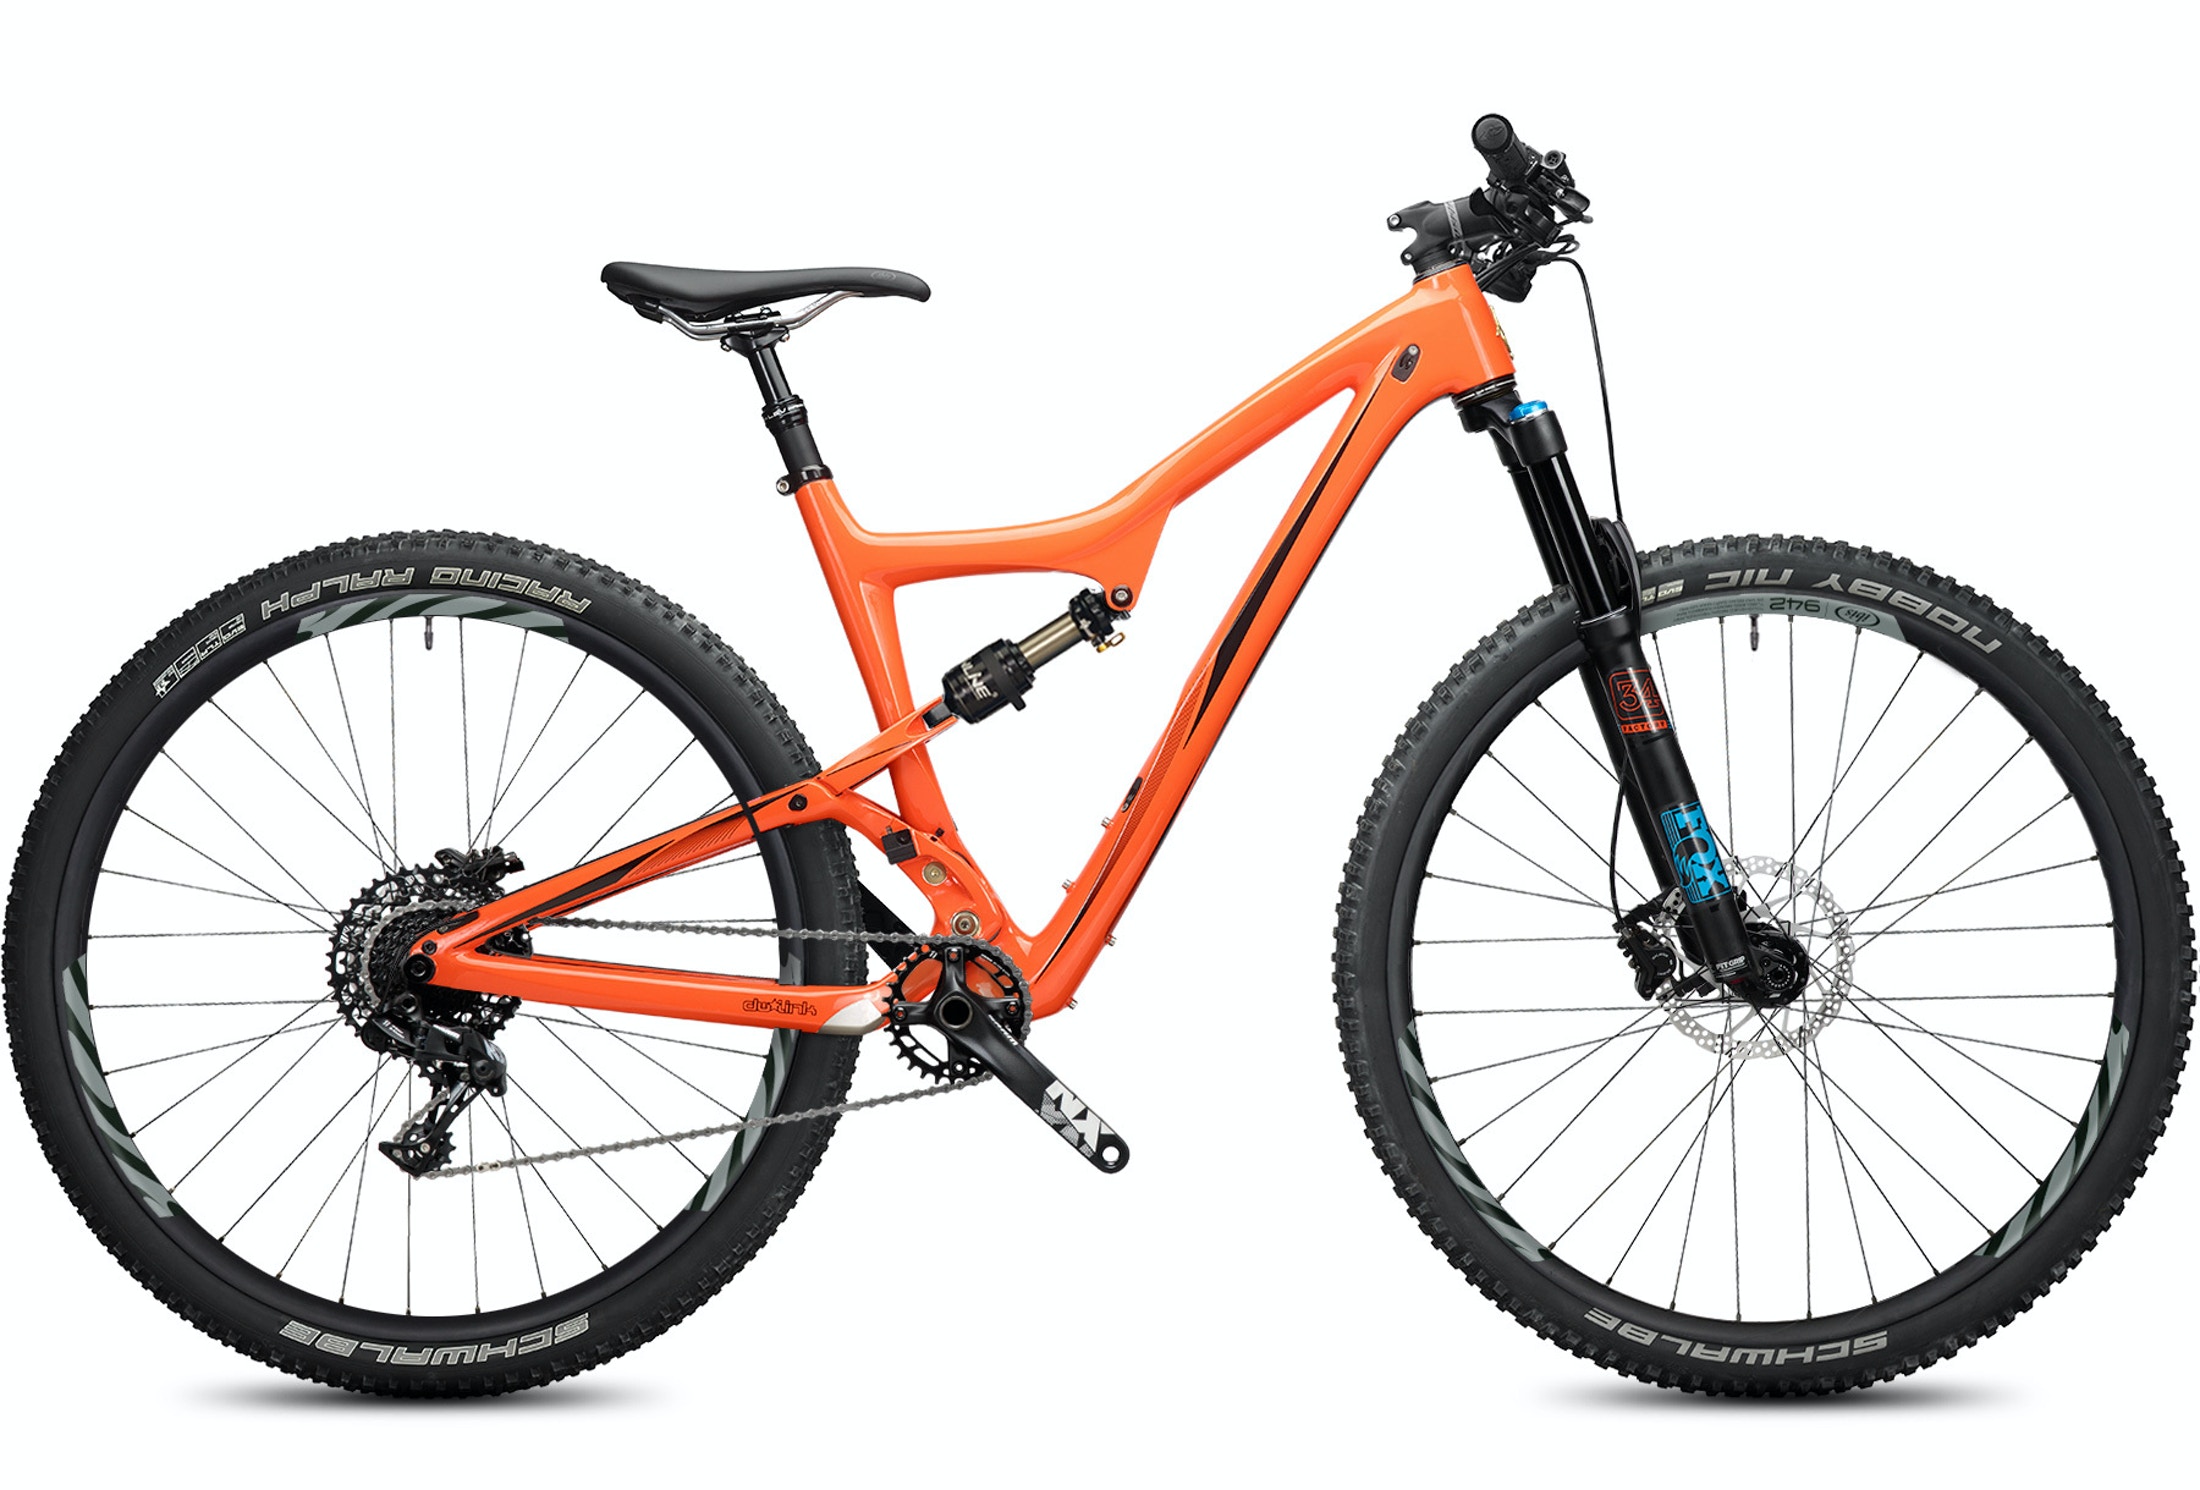
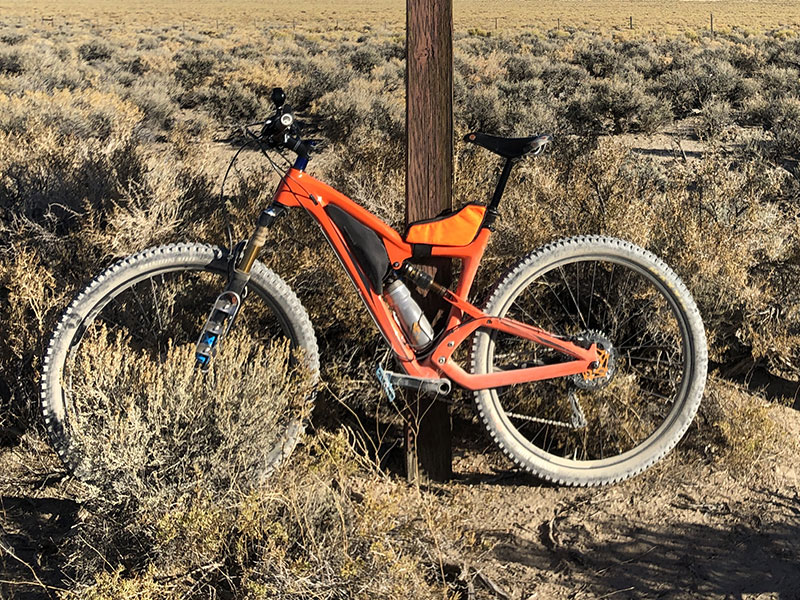
My bike is an Ibis Ripley LS (v. 2), which I bought in 2016. I love this bike. But when I started out, it was set up for standard mountain bike riding: relatively short rides, lots of time out of the saddle, no need to carry much beyond a water bottle and a small pack for snacks and tools.
As much as I love the bike, though, it is not ideal for bikepacking because it is full suspension. Front suspension is fine, and in fact I can’t imagine riding the trails I did without it. But the rear suspension doesn’t accommodate a very large frame pack, and anything I might get would be custom-made and expensive and still not carry as much gear as a hardtail.
I thought about getting a new bike to ride the Pony Express Bikepacking Route, but I also wanted to get out right away to scout and train. Plus, you know, the cost of another bike, setting it up, etc. After pricing custom packs and figuring out how much I would (and wouldn’t) be able to carry on my Ripley, I decided I’d tow a trailer.
Looking at the trail as a whole, ideally you’d have a few different rigs to use on different parts of the route. You could have a skinnier-tire, faster-moving bike at least as far as Caspar, if not Fort Bridger; you might want something more hefty with wider tires once you hit the Wasatch Mountains in Utah, but I think hauling a trailer would still be fine until you get to California; from the summit of the Sierra Nevada near Lake Tahoe to Pollock Pines, I’d recommend a full-suspension bike, no trailer; after that, you could go back to the original rig.
Ideal, maybe, but incredibly expensive and logistics-intensive. So, I’ll work with what I have.
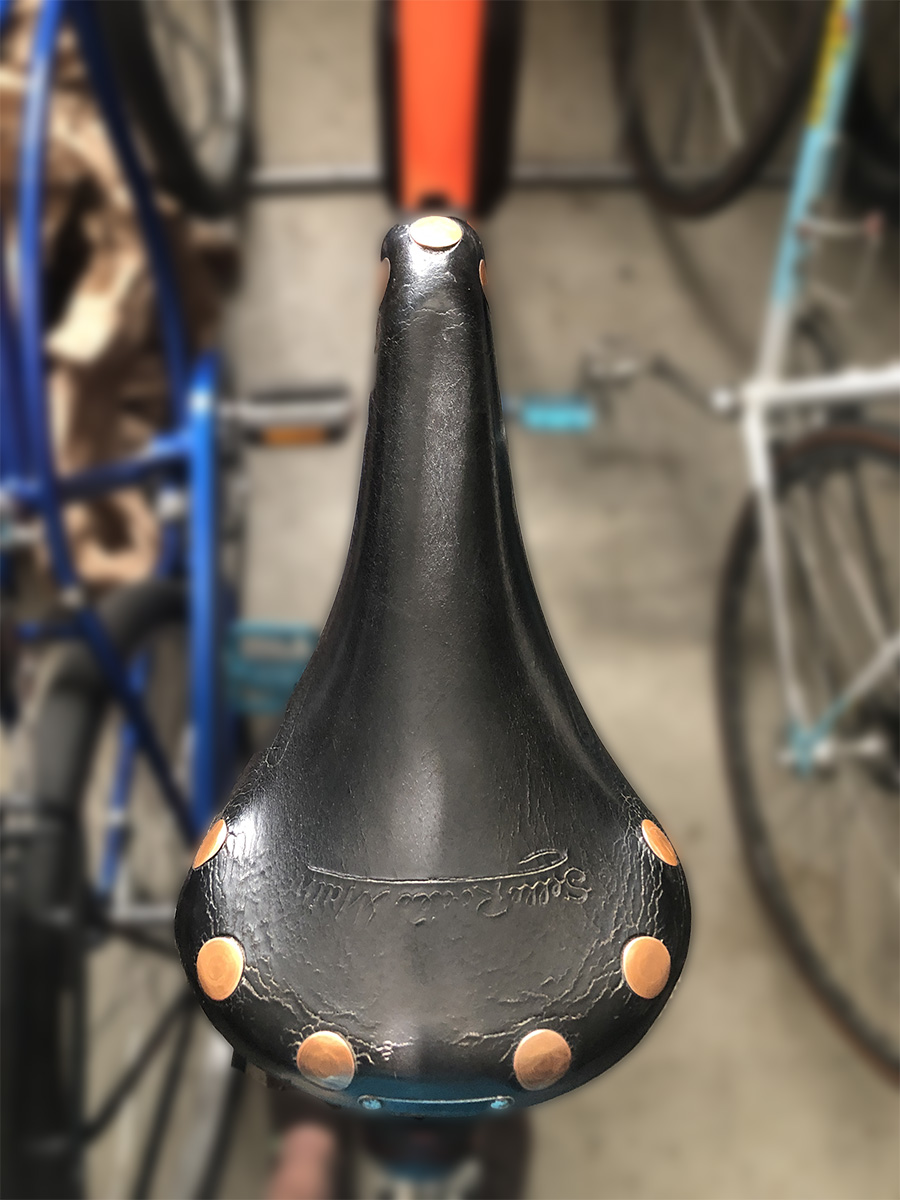
First thing to go was the saddle. I was riding the stock Ibis saddle, which my friend Rick describes as a “torture device.” Rick runs Bicycle Engineering, where he hand-builds bikes and also sells Ibis. I think I’ve bought a dozen new, used, and custom-built bikes from him over the years. Along with bikes, he’s sold me a few older (i.e., well-worn in) Brooks saddles. The one I’m riding dates from the 80s. Leather saddles are hands-down the best for riding distance. So I swapped the torture device for one of these. Works well so far.
At the same time, I decided I didn’t want to have to rely on padding in my shorts. I’ve been experimenting with unpadded mountain biking shorts and lightweight quick drying) underwear (too much information?). So far, Patagonia MTB shorts seems to work the best. All in all, I’m pretty happy with the saddle arrangement.
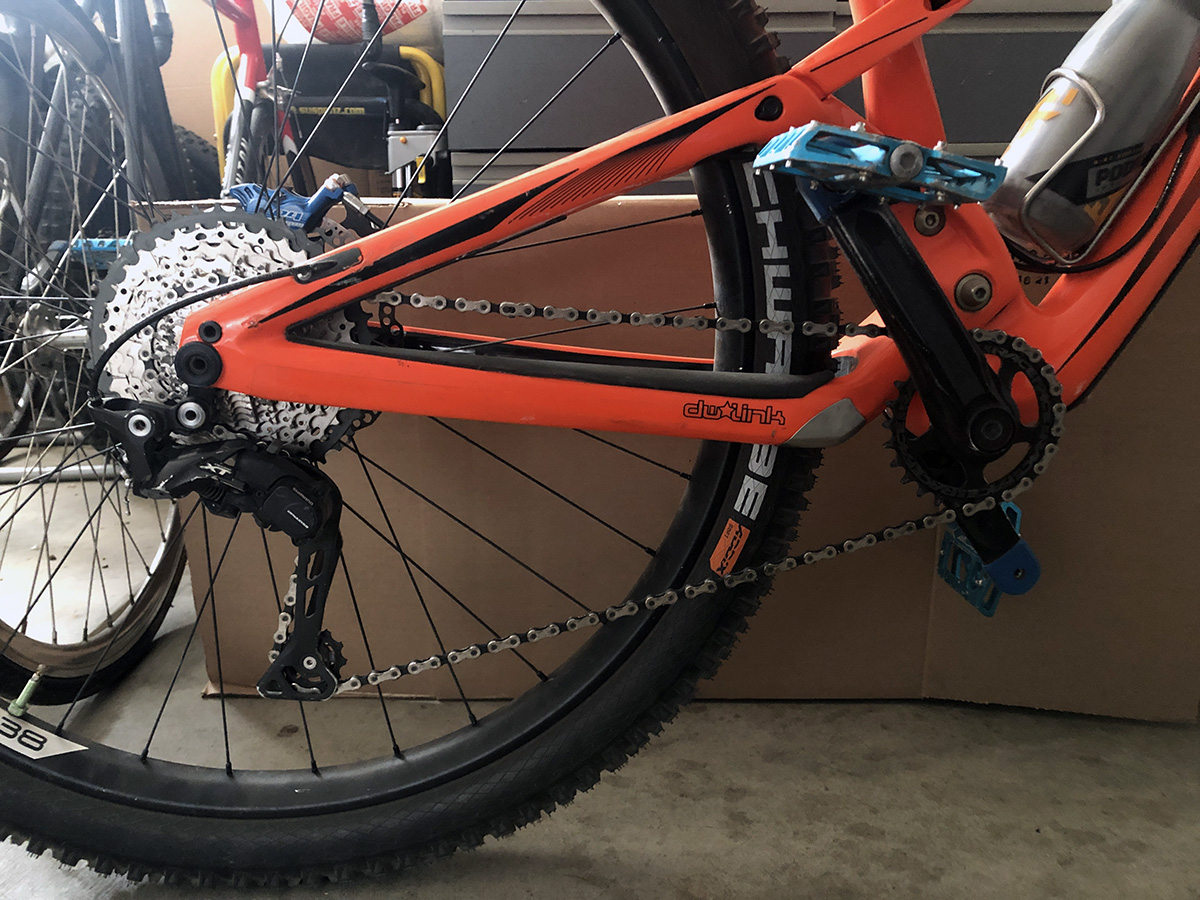
Like most mountain bike setups, I have a single chainring. I started with a 34-tooth chainring and 11-speed drivetrain. As I rode further up into the Sierra Nevadas on my scouting rides, I found I wanted a lower gear. My choices were (1) upgrade to a 12-speed, or (2) get a smaller chainring. Much cheaper to replace the ring. Also, the only thing I lose by not going 12-speed is a higher gear. And the last thing I’m worried about is going faster than I can pedal. Plus, a 12-speed chain is thinner and more fragile. So now I’ve got a 28-tooth chainring, which if I recall correctly, is the size of the largest cog on my old road bike.
I don’t know that I can climb anything steeper, but the lower gearing allows me to get up those steeper sections more easily and not wear my knees out doing it. I silently thank Rick every time I drop into first . . . which, at a top speed of about 4 mph, is a lot of time to give thanks.
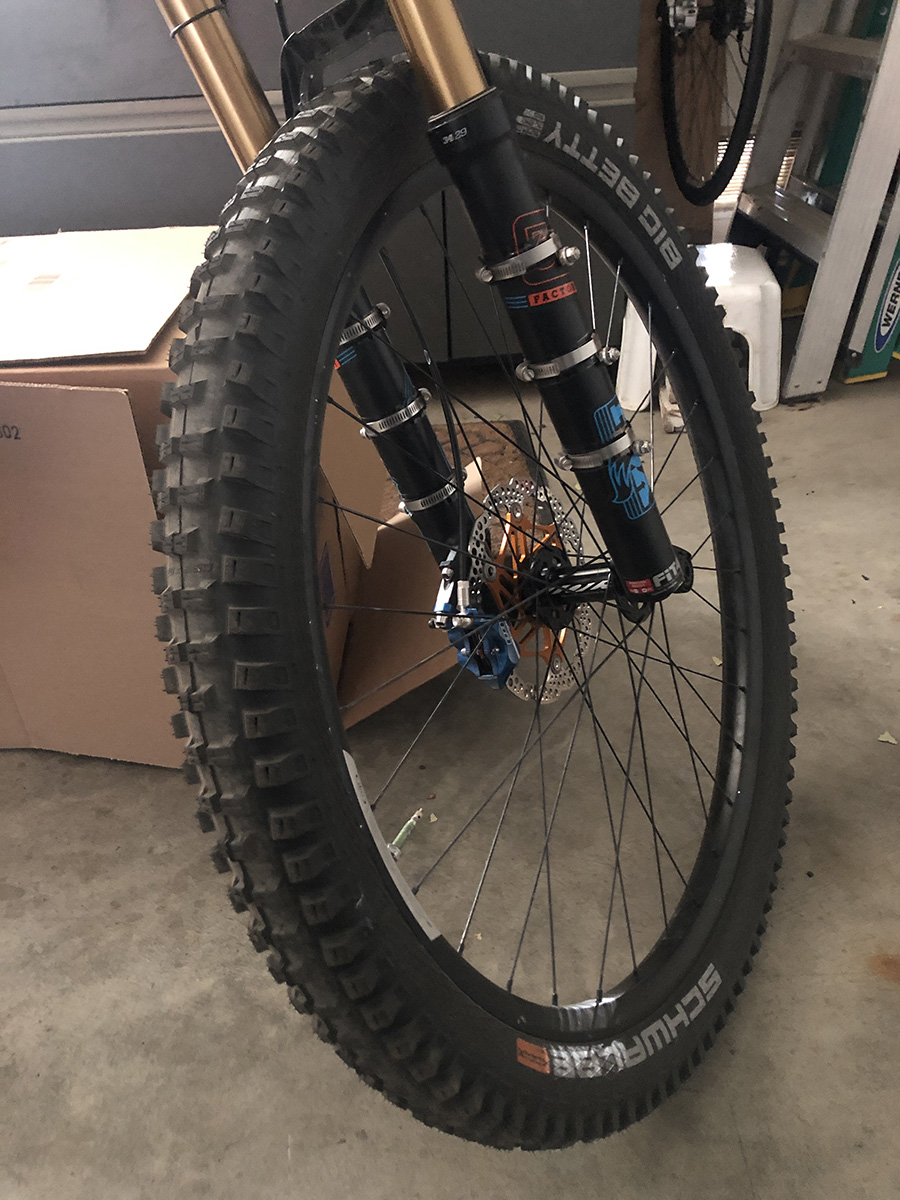
For tires, I’m running a 2.6″ tire in front, and a 2.35″ in the back. I normally run a 2.5″ in front, but bike supplies have dried up due to covid-19. I was lucky to find anything. On the other hand, I would go wider in the back, but that’s the fattest tire I can fit.
These tires are far more than you need east of Casper, WY. You could probably move across the farmland in Kansas and though the Great Plains along the Platte River a lot quicker on skinnier tires. But believe me, by the time you start riding the hills in Nevada, you’ll want the meatiest tires your bike can handle.
I run tubeless, which I think is necessary for this ride, at least in the sections I’ve ridden. Under the tires I added CushCores. For those who don’t know, a CushCore is a padding insert you place on the inside of your rim, which protects the rim from sharp objects. Also, they allow you to ride the bike even if the tire is flat.
On one of my more tiring scouting trips, I hit something sharp and flatted the back tire. The hole was large enough that the sealant couldn’t quite plug it, and I didn’t have tire plugs with me. I was able to ride by inflating the tire and rolling for a half-mile or so before having to reinflate it, and I was just bonked enough to where that seemed like a better option than pulling the tire, booting it, and inserting a tube. If I had had the CushCore then, I wouldn’t even have bothered to stop and pump it up.
I would call this a non-essential upgrade, but I sure would have liked to have it in place the day I got that flat.
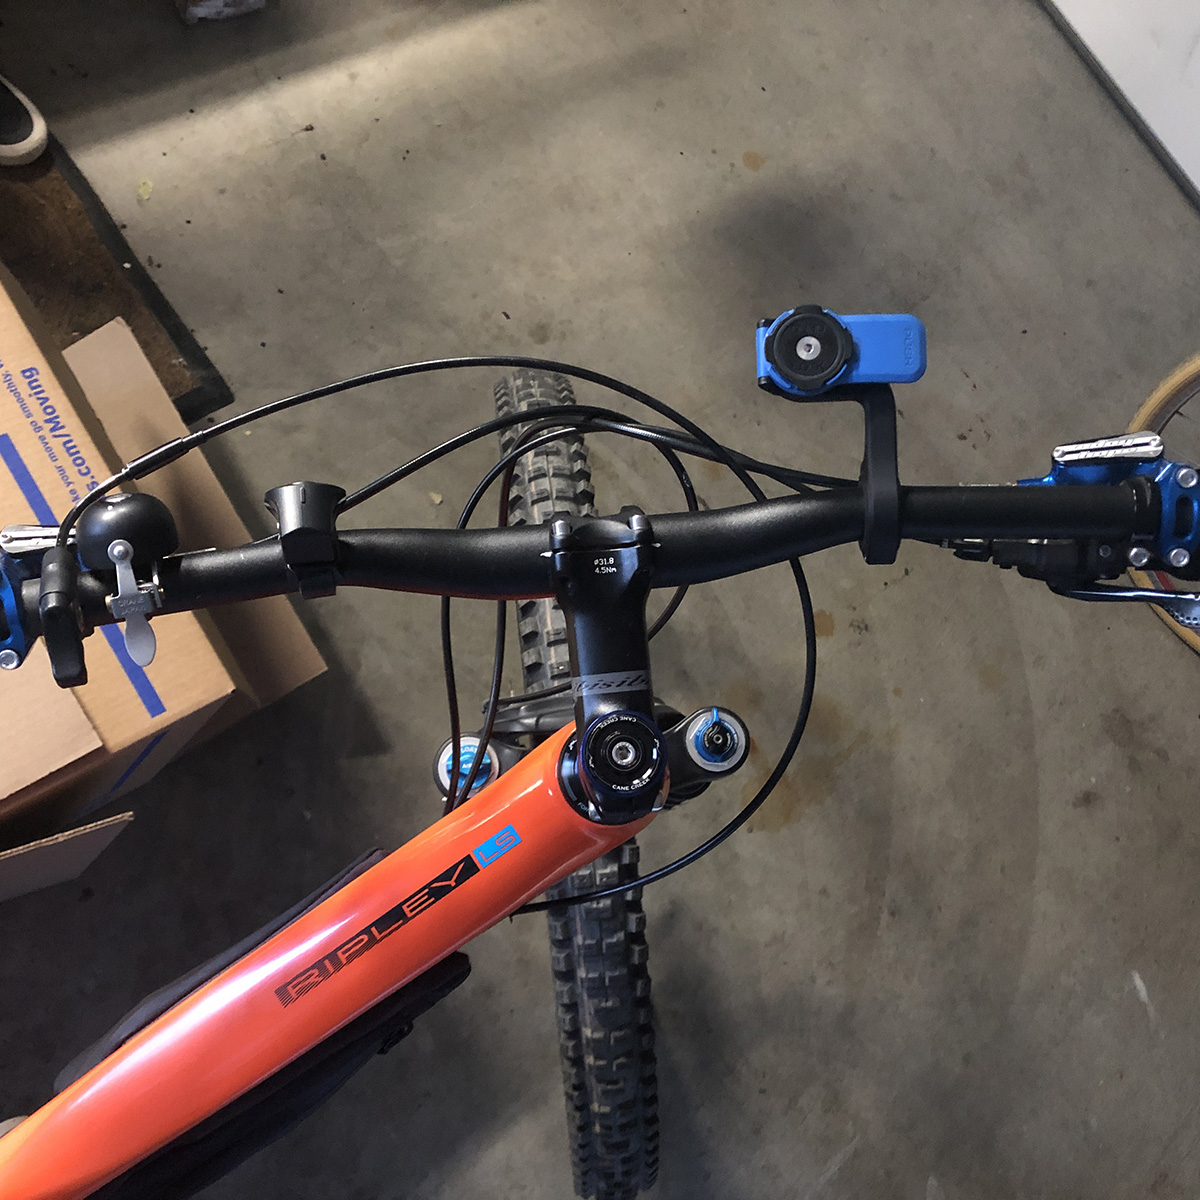
The next thing to go were my standard Lizard Skin grips. These are great grips, perfect for mountain biking. But when you ride for hours, and are more in randonneuring mode than enduro more, having a little extra something to rest the palm of you hand on helps a lot. So I replaced the Lizard Skins with some Ergon grips. It made a huge difference. I got the GA-3, which have the smallest additional flare to them. But this is plenty. Between these and front suspension, hand and wrist fatigue is much less of a factor.
And though not technically gear, I’m experimenting with unpadded gloves. I found a pair of leather gloves made by Cuero. Super expensive for riding gloves, but they feel great. Extra bonus: they smell like a baseball glove.
I also added a small bell to the handlebars for mixed-use paths. Most people walking, running, and even cycling have something pumping noise into their ears. On crowded paths, like those near Placerville and the entire American River Parkway between Folsom and Sacramento, it’s not enough just to call out “On your left.” I’ve found nothing works like a bell for piercing through whatever personal sonic barriers other users employ to make their walk/run/ride more enjoyable.
At one point, I mounted a GoPro on my handlebars, but didn’t like the way they swing with the bars. Even with motion dampening there’s too much side to side movement on a handlebar mount, at least at slow speeds. (I also with a chest strap, but hate that image frame where you’re looking at the rider’s arms on each side. I’m still working out the GoPro thing.)

Finally, I added an iPhone mount for navigation. I found carrying the phone in a pocket wasn’t enough. A lot of times the turns in the road and the transitions between paths are not as clearly marked as they might be. It is much easier looking at the phone already mounted on the handlebars than to dig it out of my pocket every time I had a question. Having the phone out there also made it easier to take more photos.
The mount I ended up with is made by Quad Lock. They have a plastic and an aluminum version. I started with plastic, then upgraded. I have bounced this thing over every kind of terrain and it holds great.
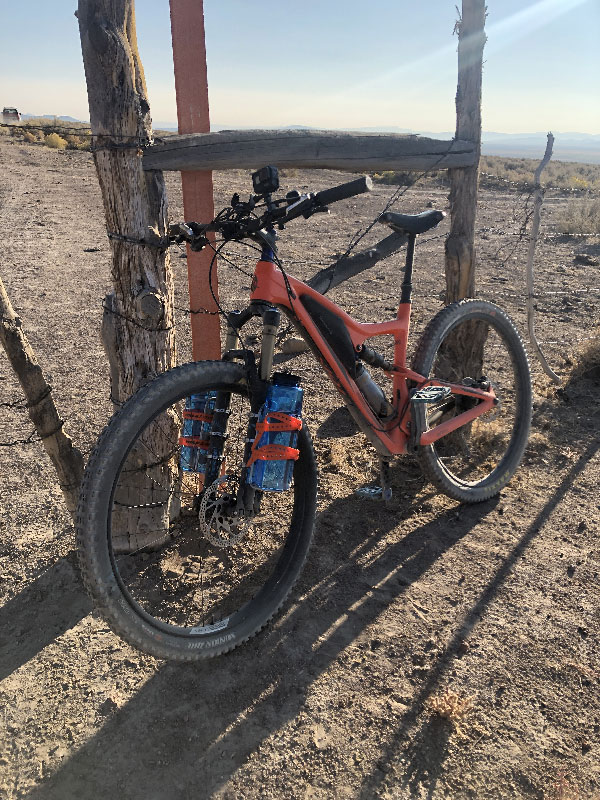
On one particularly remote scouting trip in Nevada, I was concerned that the 2.5 liter Osprey bladder and a 22oz water bottle might still not be enough water. So I searched around and found some great mounting clips for my suspension forks. There are a lot of solutions, but I think the King Cage Universal Support Bolts is the best. They are hose clamps with braze on mounts. Getting these, a couple of cages, and large Naglene bottles from REI doubled by water-carrying capacity.
While not technically bike gear, hydration is an essential part of riding. A while ago, I purchased a pork chop (small frame bag) for my Ripley, so I had a place to a spare tube and the usual flat-fixing gear. That enabled me to carry a small Camelbak, which I used without the bladder, for carrying snacks, first aid kit, and ID. I started on these scouting rider with one water bottle. I soon added a second one, stuffed into the Camelbak. As the rides got more remote, I put the bladder back in the Camelbak.
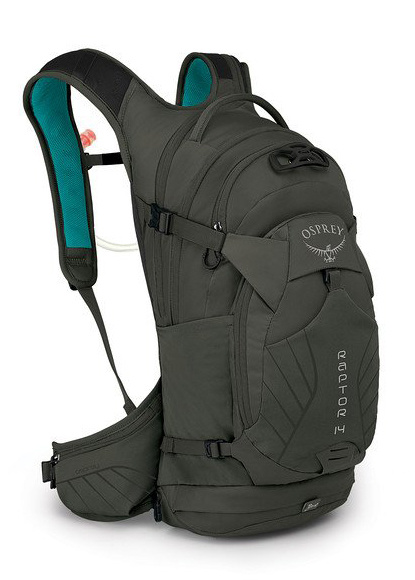
I do not take the trailer with me when scouting, and I soon found that I needed to carry more food, back up equipment (lights, Mophie charger for the phone), and clothes. After a bit of research, I settled on the Osprey Raptor 14. Awesome pack. It has about a hundred pockets and easily carries everything I need. It’s not perfect—what is—but it goes a long way to make me feel that I heve just about everything I’d need when riding in more remote areas.
On my scouting rides, I found that whenever I wanted to eat I had to think about stopping and taking off my pack to dig out a snack, and that as a result, I was going far too long between snacks. I know I could wear a cycling jersey with back pockets. But I don’t wear jerseys anymore, just a tech t-shirt, so pockets are not really an option. And even when I did wear a cycling jersey I never could never stand to carry anything in my pockets.
After looking around, I’ve added a small frame bag that sits on top of the top tube. The one that seemed to work best is a small, custom-made Medic Bag from Rockgeist (a sponsor of Bikepacking Roots, by the way). It is a beautifully made bag. They offer a lot of fabric and color options as well. This is a custom bag that really takes advantage of being handmade to order.
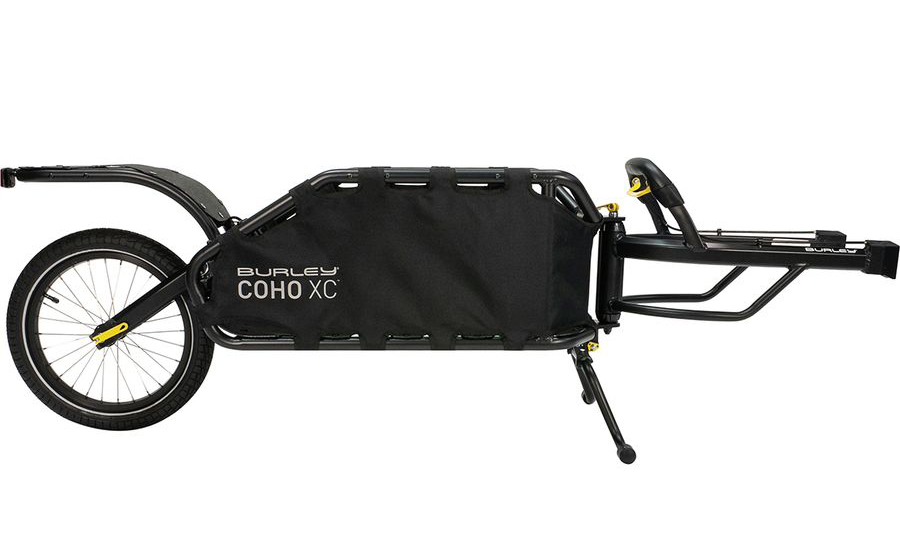
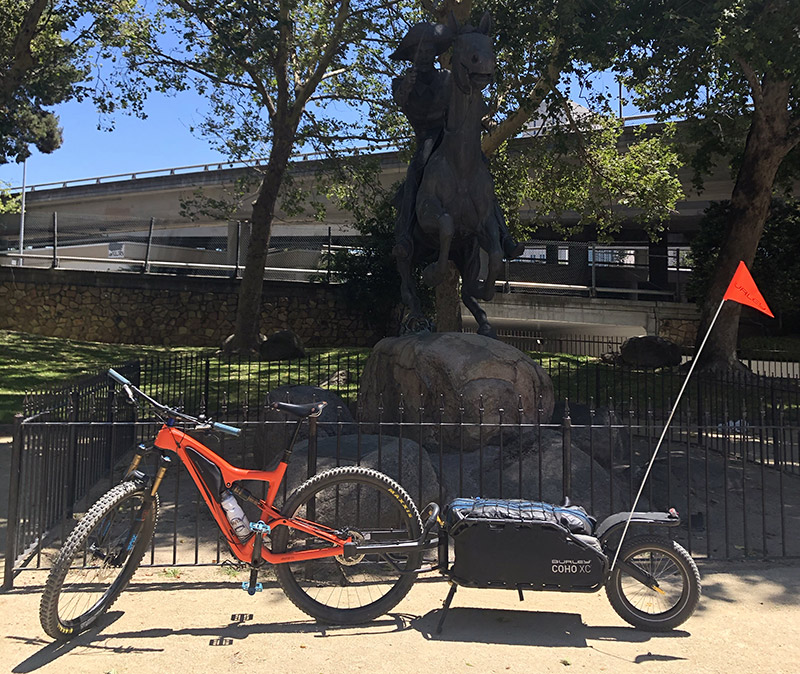
After looking at the options, it seemed there were only two worth considering: The BOB Ibex and the Burley Coho. I settled on the Burley. It seems sturdy, and has some nice features. But really it was the kickstand that sold me. A few years ago I rode a short tour on a road bike hauling a BOB trailer, and came to hate laying everything over whenever I stopped. The kickstand is just a sweet feature.
That being said, the Burley is not a bargain. It is expensive ($450), sure, but that’s only the starting cost. To make it work with my bike I had to buy a separate thru axle ($65); and to make it work off-road, I had to purchase the wider (3″) wheel (another $90), bringing the price to $600. A respectable company would offer these options when you purchase: but added to the insult of paying substantially extra to make the trailer usable, I get the insult of having a useless axle and wheel to deal with.
But wait, it gets worse. Even at the ridiculous price of $90, the back rim is not tubeless ready. Why any company would sell a trailer touted as cross-country equipment and not make the wheel tubeless-ready seems disingenuous. To compensate, I injected Finish Line sealant into the tube and lined the tire with Mr. Tuffys. So far, so good.
And as if that weren’t weak enough on Burley’s part, by far the biggest shortcoming of the trailer is the shock. It is an outright POS. Burley should be embarrassed to put this thing on the trailer. It is useless: the cheapest steel coil made with no dampening and virtually no adjustment. It’s the cheap-ass kind of spring you find on a $100 “mountain bike” at a big-box store. The trailer is rated to haul 70 pounds, and the spring’s range seems to run, I’d guess, between 65 and 70 pounds.
Let’s stop and think about that for a minute: who is going to haul 70 pounds of gear in a trailer on a cross-county bike ride? I’m guessing nobody. I weighed my gear at 30 pounds, and that’s a pretty taxing load. But rather than use a functional shock, one designed for the kinds of loads riders will actually be hauling, I’m guessing that, like the shitty wheels, Burley decided to cut this corner as well to keep the price within some kind of ballpark range, even though these shortcuts become shortcomings which really undercut the utility of their product.
After an extensive internet search, I finally tracked down an air shock that would fit the trailer. I could only buy it through eBay, and I had to retrofit the air fitting to make that work in the setup. So for around an additional $100, I finally have a functional shock.
Don’t get me wrong: I stand by my decision to haul a trailer, and fully expect it will work well. I am just not very happy with Burley’s corporate philosophy.
Apart from riding an orange bike and wearing an orange helmet, I have added a few gewgaws to make the bike more visible to distracted drivers, and to make them more visible to me.
First, I added running lights fore and aft. A white flashing light for the handlebars and a red one for the seatpost. They are not bright enough to ride by at night, but give the bike more visibility during the day, especially if I’m in shade.
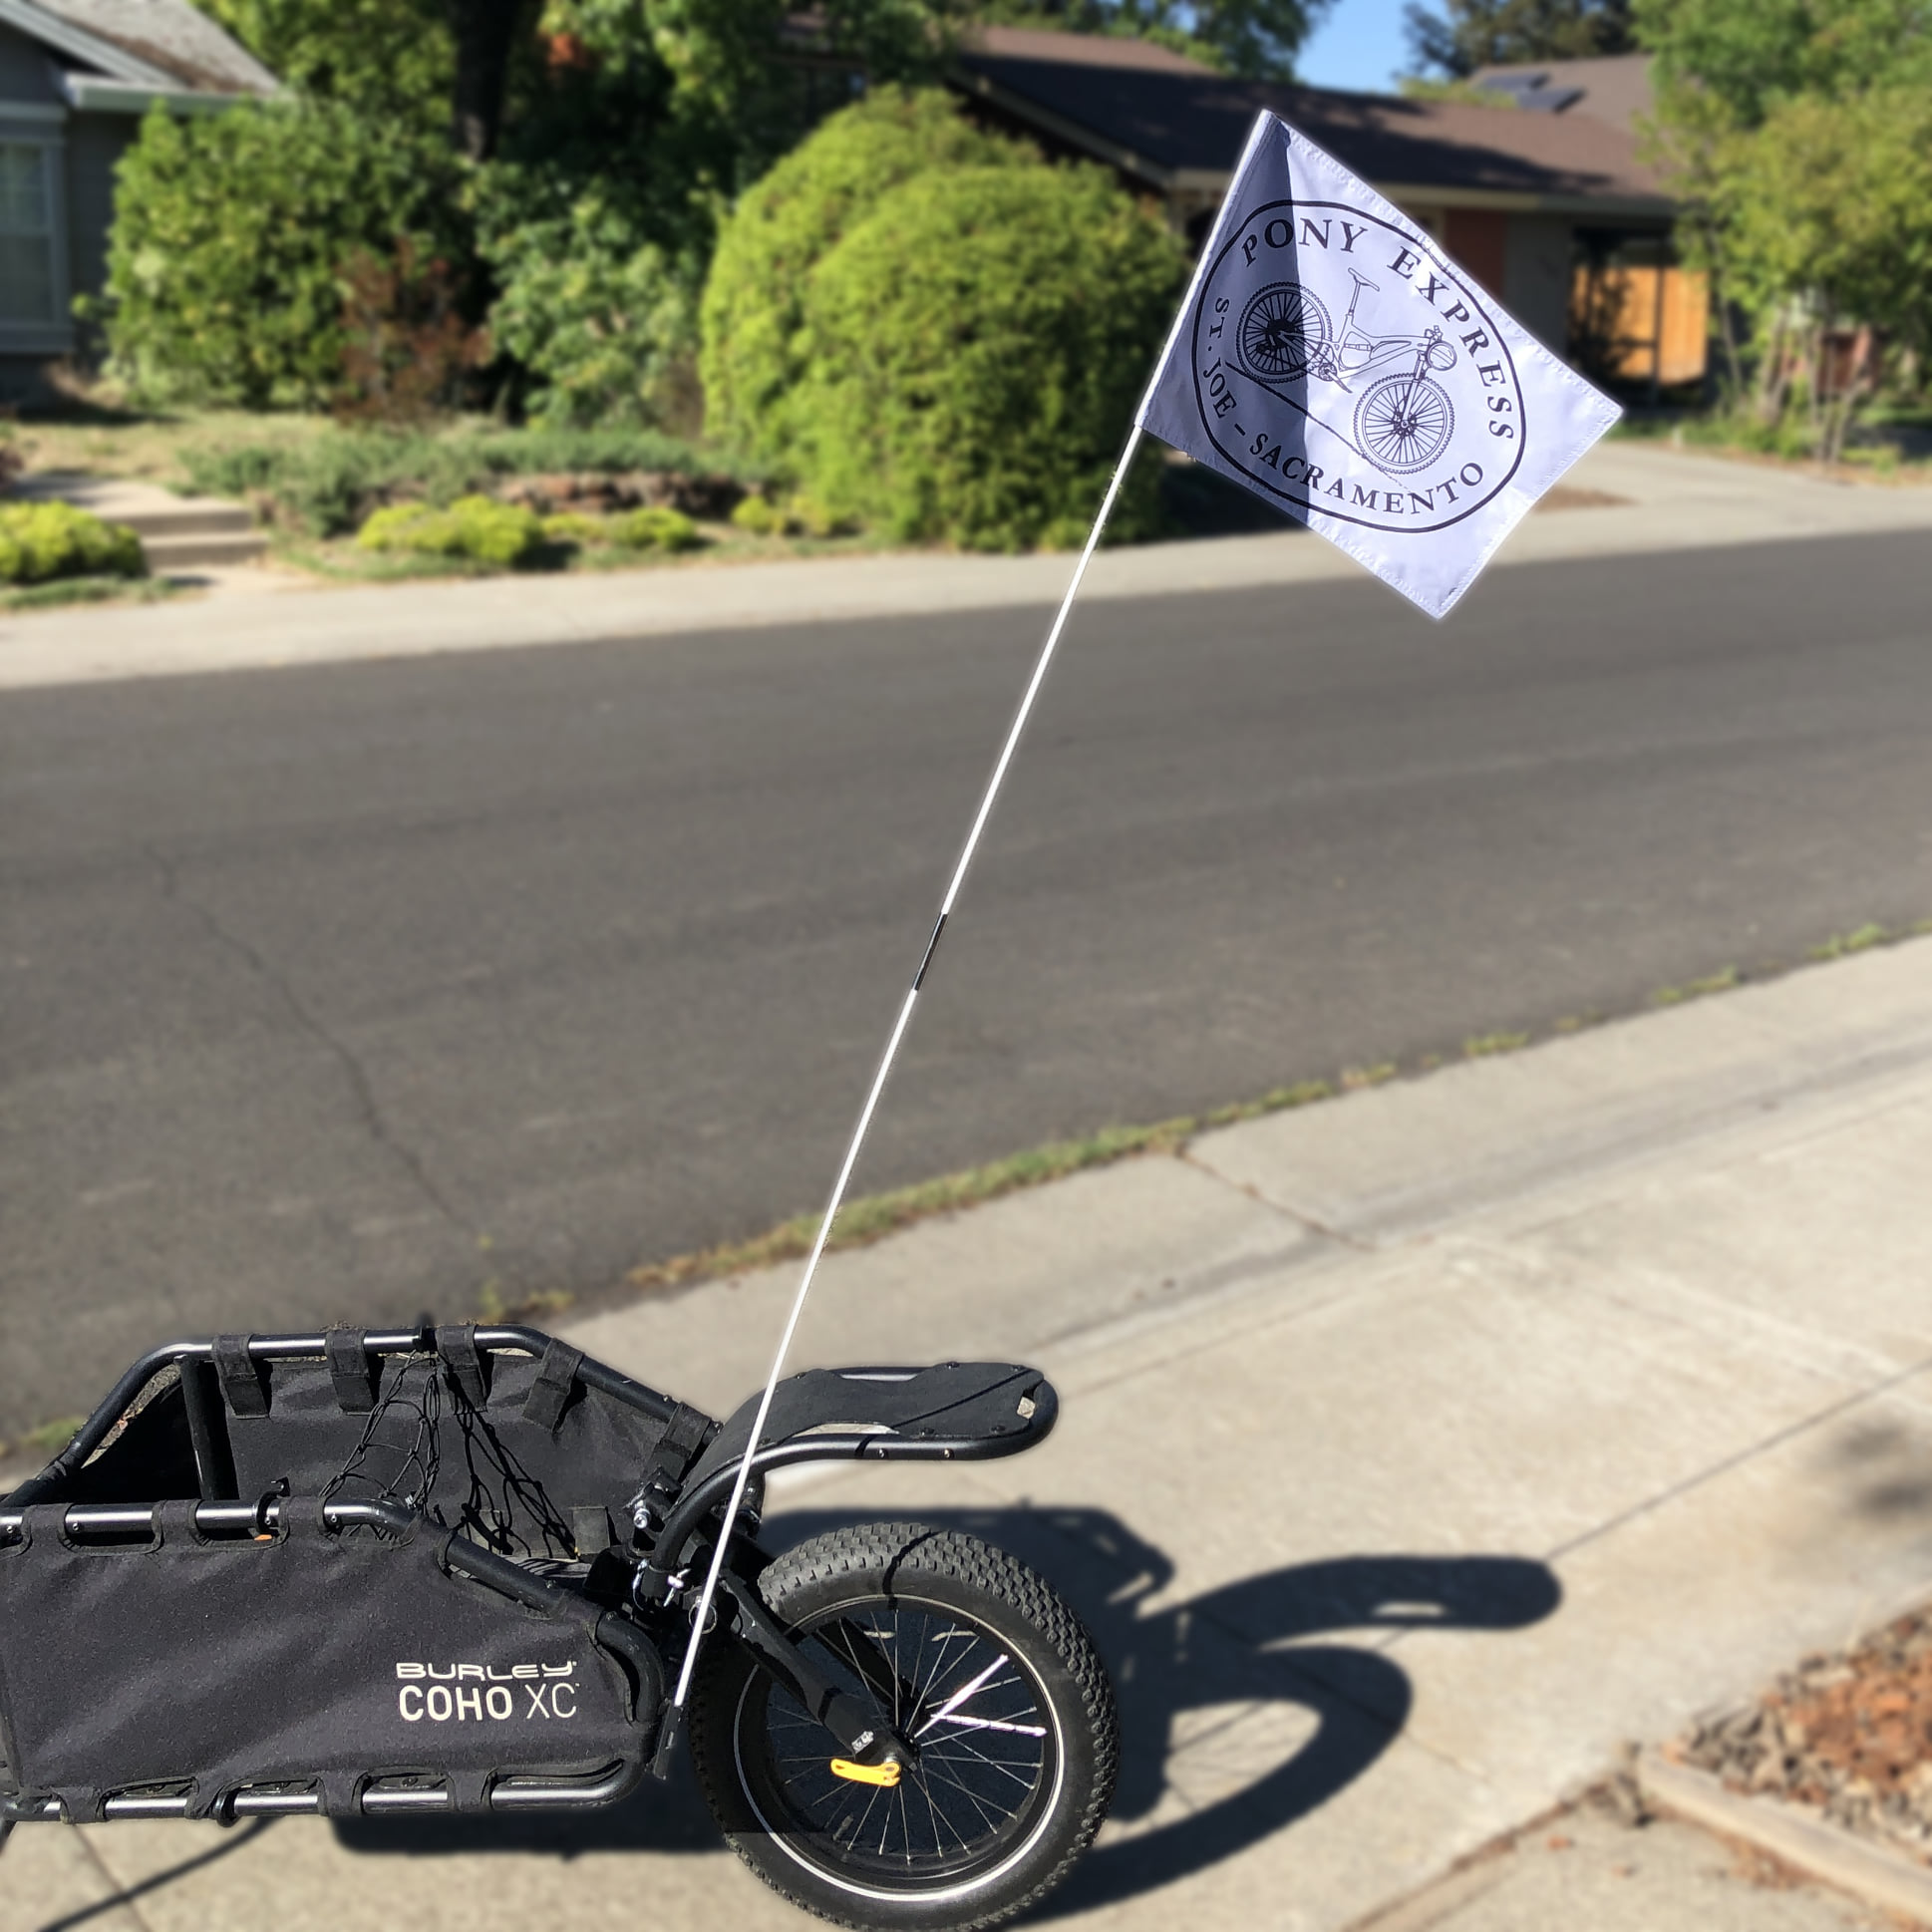
In addition to the taillight, I mount a removable red light to the rear of the trailer. It just makes sense to me to have a light at the farthest point back my rig extends.
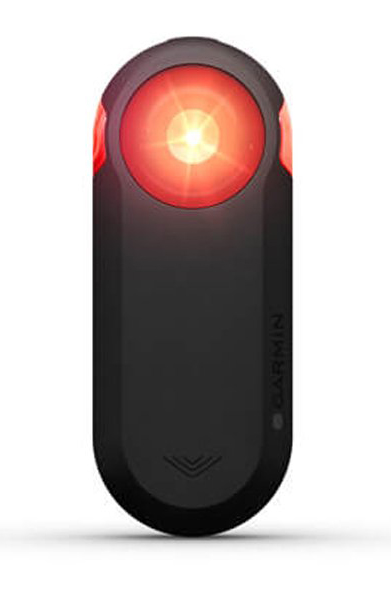
To make cars more visible to me, I added a Garmin Varia, which is a radar that warns of cars approaching from the rear. One nice thing about this unit is that it interfaces with the Ride With GPS app, which I use for navigating. It has both an audio warning (beeps) and a visual depiction of how far back cars are behind you. I used to ride with a mirror attached to my glasses, but found I spent too much time looking in the mirror. This way, I stay focused forward, and am not surprised when cars approach.
I tend not to like Garmin products; I find their interfaces range from clunky to non-functional. Happily, there are no settings. You mount this thing on your saddle and let it do its thing. True to form, the mount Garmin provided was useless. Apart from being cheap plastic, it mounts on the seatpost; having a dropper post, that wasn’t an option for me. Plus, running 29ers, I need it to sit much higher. After a lot of searching, I found a really solid, intelligently-designed mount from BUP Labs. These guys are hard to find–they don’t turn up when I search the web–but the mount secures to the saddle rails, has an O-ring in addition to the mount for extra protection; and just to be sure, includes a safety tether in case the quarter-twist mount fails. No way you’re going to lose your $200 radar.
Finally, I made a custom Pony Express flag to fly from the trailer. This probably isn’t as visible as the orange Burley flag that came with the trailer, but it’s much cooler. What it lacks in visibility, it should gain in trail cred.